Recent Renders & New Directions
There have been a number of approaches and projects underway, but none of them is ready for posting here. This little overview is done is the spirit of the journey, showing what's was started and what's holding it up.
Time of Day

Dawn
I am expanding the 2EZ lights(see index), to reflect the time of day for outdoor scenes

Afternoon
The set here is La Piazza from Dreamlight. This is a fantastic set and seeing this video about the set actually got me to start trying 3D Art
Although it is a budget buster this set is an exceptional value. For those of us with limited machines, there is great news, too. Because this set comes with a viable partial loading approach you can include as much stuff as your machine will handle and eliminate (better yet never load ) portions of the village that are outside your scene.
The 2EZ light approach uses only two lights, one of which is very static and one of which is carefully aimed for the current scene. Now with time of day both lights are static and if they are to be accurate the scene has to have an unchangeable north/south orientation. The camera must be moved around to find good opportunities. I was deeply concerned that there wouldn't be enough light for a large scene. The excellent lighting that comes with the set is composed of many, many lights. But I think it is going to be fine. I have a few times of day that are right and a few more that need more work.

Noon
Here you can see what I mean by some parts of time of day still need adjustment. I am trying for and "experiential" time in which noon should feel like flooded with light and almost overwhelming lign. This is working good on the buildings, but definitely not on the pavement.
I love this set so much that I am planning a long project where I pretend to live in this town, for a while, make some art and have an exhibition -- an artist's residency. I have done actual artist residencies a number of times, so I have something to go on. This project is a little bogged down because although this is a truly great set, it has a number of features that can make you crazy -- The mountains are on the same skydome and the sky so you can only rotate the sky in you don't care about consistency of the mountains. ( 90 % of the users of this set will think I'm a little crazy, but I have to change this before I move on.
Character Development

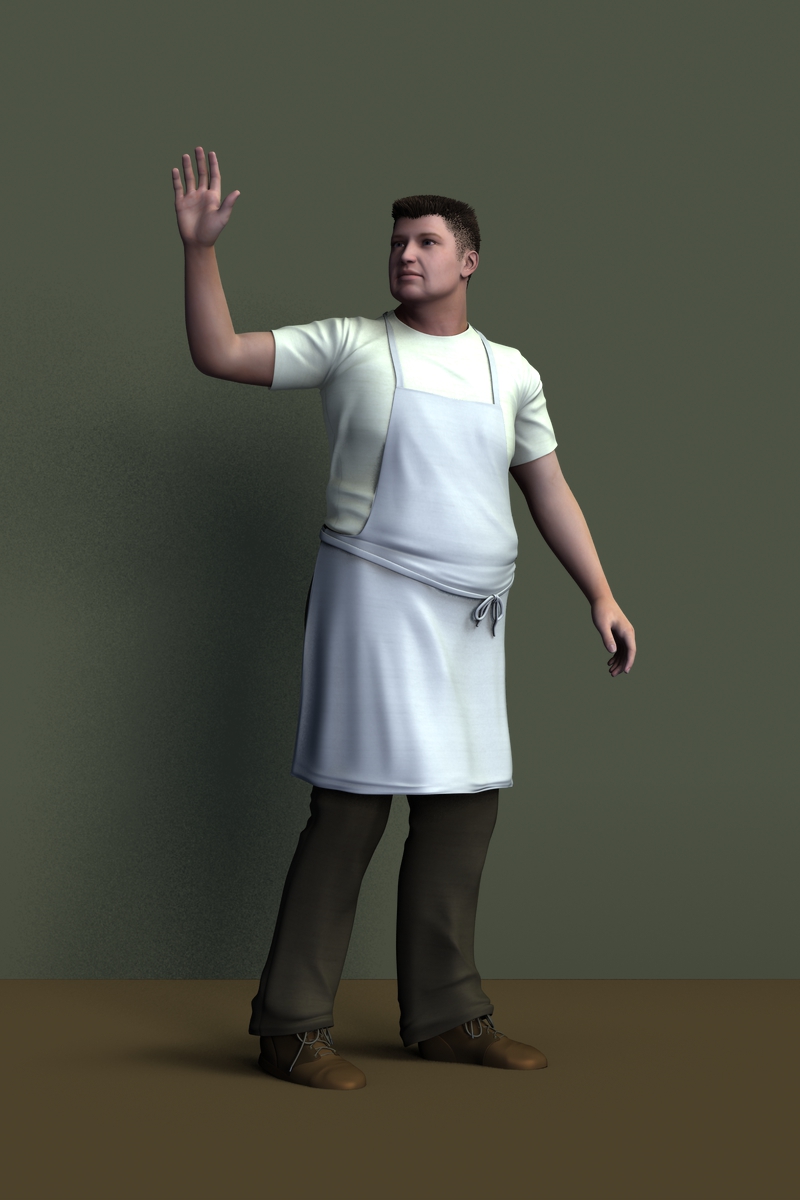

Headshot Studio


I am working on a headshot studio that is as packaged and versatile as the 2EZ Studio, but concentrates on head shots. The lighting becomes much larger with multiple approaches that differ for male and female subjects. This is the part of character development and scene development that takes the most time for me. In my opinion, so much of what the character can communicate comes from pose (especially head and neck) and expression.
Expression Research


So much happens in the face - identity, emotion, attitude, mood, personality, and more Its hard to find a way to improve our results. The end is intuitive, when we think a connection is there, when the character feels alive, ...
Fortunately there are some avenues to expand knowledge and lead to better results. In psychology, there is a concept of universal expressions and these universals are covered in the expression sliders available in DAZ Studio. Again the three most active generations are different, but the mechanism is there and I am learning how to use it and planning to share what I learn.


3_5.jpg)


0 comments: